DigiLocker: How You Can Sign Up And Make Better Use Of It?
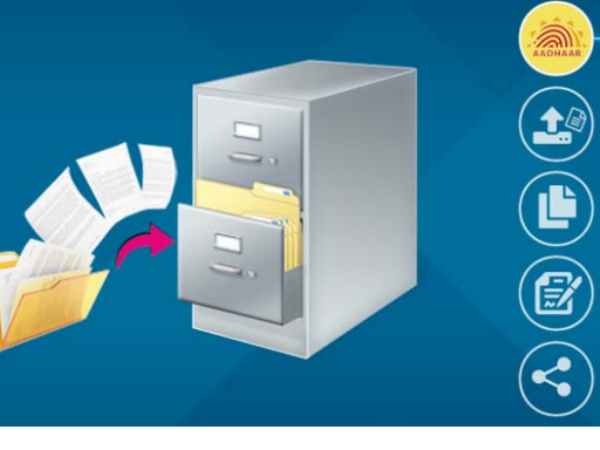
DigiLocker is a digital platform introduced by the Ministry of Electronics and IT (MeitY), Government of India under Digital India Corporation (DIC) targeted at reducing the use of physical documents and enabling agency-wide storage of e-documents. DigiLocker is a network for digitally issuing and verifying records and certificates. To keep all your documents at a secure place and use it in a user-friendly way you can use this app or platform. You can store your important documents such as driving licence, PAN card, Voter ID, policy documents, Aadhaar Card, Vehicle registration certificate etc on this digital wallet. Once you register for a DigiLocker account, you can upload your documents and keep them secure. Upon a successful registration of a DigiLocker account you will also get a free cloud storage space of 1 GB if you are an Aadhaar holder. You need to have an Aadhaar card to use DigiLocker. The Aadhaar card number and the one-time password sent to your mobile number linked with Aadhaar need to be submitted for successful registration. It is a short process to sign up for DigiLocker, here is a step-by-step guidance you must follow to open a Digilocker account.

Steps to open a DigiLocker account
- Access the official site of DigiLocker. The Digilocker can be accessed at digilocker.gov.in. From the play/app store on your smartphone, you can also download the application. In addition, you can use the Aadhaar number by accessing the Digilocker website to create an account. Before using your Aadhaar number make sure that your current mobile number is linked with Aadhaar.
- Now click on 'Sign Up' and specify your full name, resident address, Aadhaar-linked mobile number, date of birth, email ID and generate a security PIN.
- Now enter your 12-digit Aadhaar number and to proceed further you will get two options to select from i.e. One Time Password (OTP) or Fingerprint.
- You will need to enter the OTP on the screen received on your Aadhaar-linked mobile number if you select the OTP option. Click on the Verify button after entering the OTP and then you will be prompted to generate a Username and Password.
- You need an Aadhaar certified biometric system to scan a fingerprint if you choose the fingerprint alternative.
- The application will prompt you to generate 'Username' and 'Password' once the operation is done. Type the username and password that you want for the 'DigiLocker' account and select the Sign-Up icon. The application will display the 'Dashboard' screen after active account creation.

How to sign in into DigiLocker?
To log in to your DigiLocker account, you can follow the given steps below.
- Open the DigiLocker app or visit the official site of the platform.
- If you are using the DigiLocker app you only need a 4-digit MPIN to sign in.
- If you are visiting the website directly you need to click on the 'Sign In' button on the homepage.
- Now you will get three alternatives to sign in i.e. Aadhaar Number/OTP, Username and Password and via Facebook ID.
- Any one of them can be selected. You can upload your certificates & documents into your DigiLocker account once you log in.

Managing of DigiLocker app
You will get the following sections once you sign in into your DigiLocker account.
Dashboard/Home: This is your DigiLocker account's home screen. From here, you can browse to other DigiLocker sections. You will get an overview of documents issued and a bridge to sync with DigiLocker to get documents from associates on this section.
Issued Documents: This section provides a collection of digital documents or certificates provided by the Government or DigiLocker-integrated divisions or organizations. You can access your digital documents under this section with a one click and also download as PDF or share it.
Uploaded Documents: This category allows you to manage and view all the documents that you have uploaded. The document format can be modified, and you can quickly share all imported documents with anyone.
Shared Documents: This subsection allows you to view and manage a set of documents you have shared.
Activity: This category allows you to maintain a list of all your tasks in the DigiLocker account. The record contains specifics of activities such as uploading a file, downloading, sharing, and so on.
Issuers: This category allows you to include records of departments and entities that are listed as issuers with DigiLocker. If any document/certificate has been given to you by these authorities, it will feature in your 'Issued Documents' section in the form of a URL (link).

Steps to upload certificates or documents
To upload certificates & documents, you can follow the below-listed steps:
- Open the DigiLocker app and click on 'Uploaded Documents'
- To upload the documents in your DigiLocker account, click on 'Upload'
- Now select the location of files and select the same.
- Once you selected the files click on 'Open'
- Once you are done your documents will be uploaded under the 'Uploaded Document' section.

Benefits of DigiLocker
The Digilocker will promote cost savings, avoidance of consumer concerns over the inability to deliver policy copies, enhanced delivery time for insurance services, improved processing and resolution of claims, avoidance of conflicts, misconduct, etc. Some of the core benefits of using DigiLocker are:
- At any time and from anywhere, one can store your important documents
- Documents can be authenticated, legitimately on a level with original copies.
- Issued documents can be shared with anyone at anytime
- It also decreases government agencies' operating expenses by reducing the use of physical documents.
- Documents issued through DigiLocker are retrieved directly from the issuing entity in real time.
- DigiLocker, with the permission of the user, serves as a secure document sharing portal such as a payment gateway between the authorized issuer and the authorized user.
- A verification configuration is provided by DigiLocker that allows government entities to validate data explicitly from issuers after acquiring the user's permission.
- The crucial part is that it is extremely easy for DigiLocker to verify the legitimacy of documents as they are effectively approved by certified issuers.


